.png)
How do I manage add-ons offered during the campaign in BackerKit Pledge Manager?
NOTE : Before launching, you should create Items in your BackerKit Crowdfunding or Kickstarter campaign, applied to their respective Pledge Levels and Add-ons. These Items will then automatically import into the Pledge Manager where you can finalize their setup.
If you make any changes to your campaign while already live (such as creating a new Item or Campaign Add-On), these additions will not import into the pledge manager until after your campaign has successfully concluded. This process may take up to 24 hours.
- Jump to - How to link and import add-ons into backer's surveys
- Jump to - Preview how add-ons will appear in the survey
All add-ons sold during your crowdfunding campaign must match their respective add-on(s) in the BackerKit survey. This process places add-ons purchased during the campaign into backer's carts, and also allows backers to make selections on items with variants, such as t-shirt size, color, design, etc.
We recommend using the Item Generator to set up all items being offered to your backers through the survey. This process automatically creates the required SKUs, and allows you to take care of multiple Item steps in one go, like pledge questions, assigning to campaign add-ons, etc.
- For an overview of the Item Generator, see How do I set up items in BackerKit?
- To learn more about SKUs see Overview: SKUs
How to Create Items, Connect Campaign Add-ons, and Link to Backer Surveys
Step 1: Use the Set Up Items page to create and connect all items.
For Items created on the Original Campaign:
These Items will import automatically. Click the Set up this item button next to each Item to add variants (if needed), and confirm which pledge levels and/or add-ons it applies to:

This process will create the SKU(s), any required pledge questions, and link the correct quantity of the Item to Pledge Levels and/or Add-ons as needed. Once Items are confirmed, they will be automatically linked to your Campaign Add-ons:

To create New Items from scratch:
Click the Set Up a New Item button (top right) to use the Item Generator tool.

Be sure to create any Items included in Pledge Levels first. If the Item was also a part of a campaign add-on, you can connect it during this process.
- Note: We recommend creating a survey add-on (final step) for every item created in the Item Generator, even if the item only belongs in Pledge Levels. You'll be able to hide add-ons later if not needed.
If you have any remaining Items that belong to add-ons only, you can create those next, following the same process.
Step 2: Confirm Setup on the Campaign Add-Ons page:
- Double check that all items were correctly mapped to their respective campaign add-on, matching in both name and quantity.
- If any campaign add-ons are missing Items, click "Edit" on the far right > click "+ Link to an Item" > select the matching add-on from the dropdown. This will auto save with a green box in the upper right corner.
-
If you offered any add-ons that were bundles of Items (i.e. "3x Pins" or "Pin + Sticker"), you should have multiple of the corresponding add-ons to match the quantity of the bundle. For example:


NOTE: If you offered add-ons as an upgrade to the backer's pledge level, please reach out to our success team for assistance on this setup.
Manually Creating Add-ons with Variants
If you created single variant/SKU items with the Item Generator, but sold add-ons during your campaign for items that backers will need to make a selection during their survey, you'll need to create add-ons with variants manually.
From the Customize Add-ons page, click the green button "Create a New Add-on" in the upper right hand corner. Edit the details and add images to the new add-on. Do not add SKUs to the main SKU field. Please note: if SKUs are present in main SKU field AND variants, the add-on will NOT save properly.
Use the Variant Generator within the add-on (similar to the Item Generator) to create variants. If your item has only a color for backers to choose, create One Option, and then add all Colors as Option Values. Use a comma to separate each color to create a separate Option Value.

If you have single add-ons created and visible through the survey, you can hide these multi-option add-ons and map them to your campaign add-ons. Only backers who purchased these during the campaign will be able to confirm their selections through the survey.
Preview how add-ons will appear in the survey
Use the Preview Survey Tool to test how add-ons will appear in the survey.
- Select a Pledge Level to preview, the backer's payment state (paid exact amount, did not pay for shipping, over/under pledged)
- Check Preview with add-ons offered during the campaign, which will add all of the add-ons you offered during the campaign to the Test Backer’s survey. This is for preview purposes only. Backers will only see the add-ons they selected during the campaign.
- Click Preview Survey
- After answering pledge questions, backers will be taken to a special page to confirm the add-ons they selected during the campaign. If the add-ons have options such as size, color or design, they will make those selections here.
- After confirming the options, these add-ons will be added and locked into the backer's cart.
Not seeing add-ons in backers' carts or order pages?
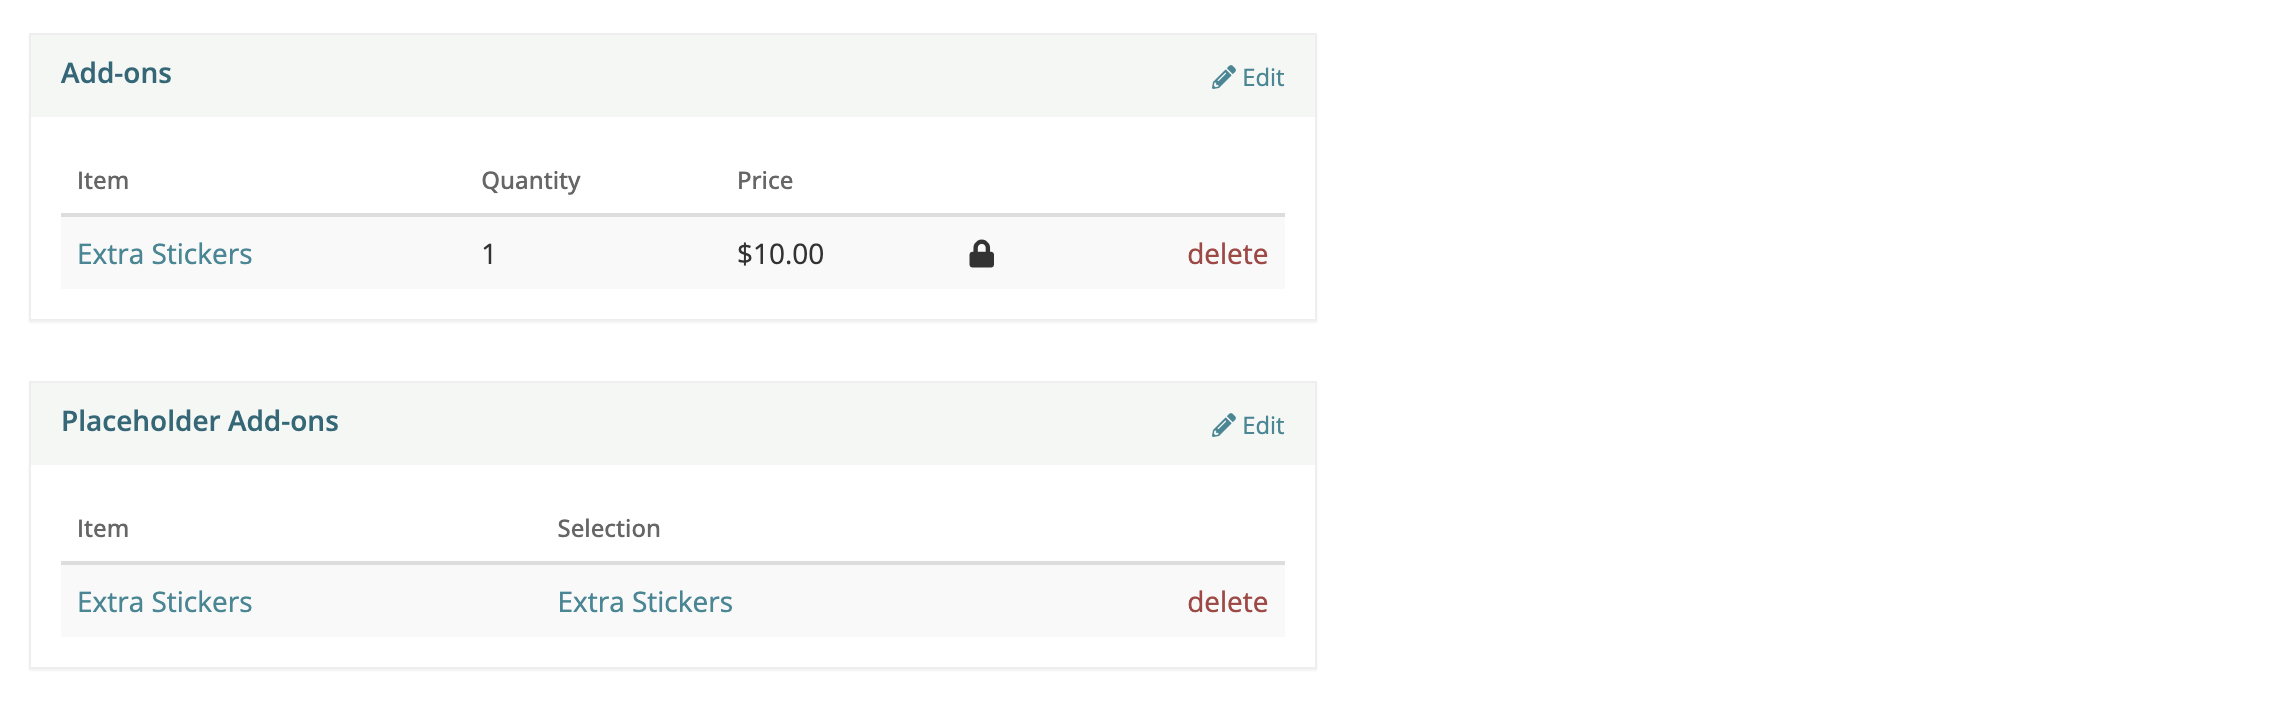
When add-ons offered during the campaign are imported into your backer's survey, they will appear under the Placeholders Add-ons section on the backer's order page.
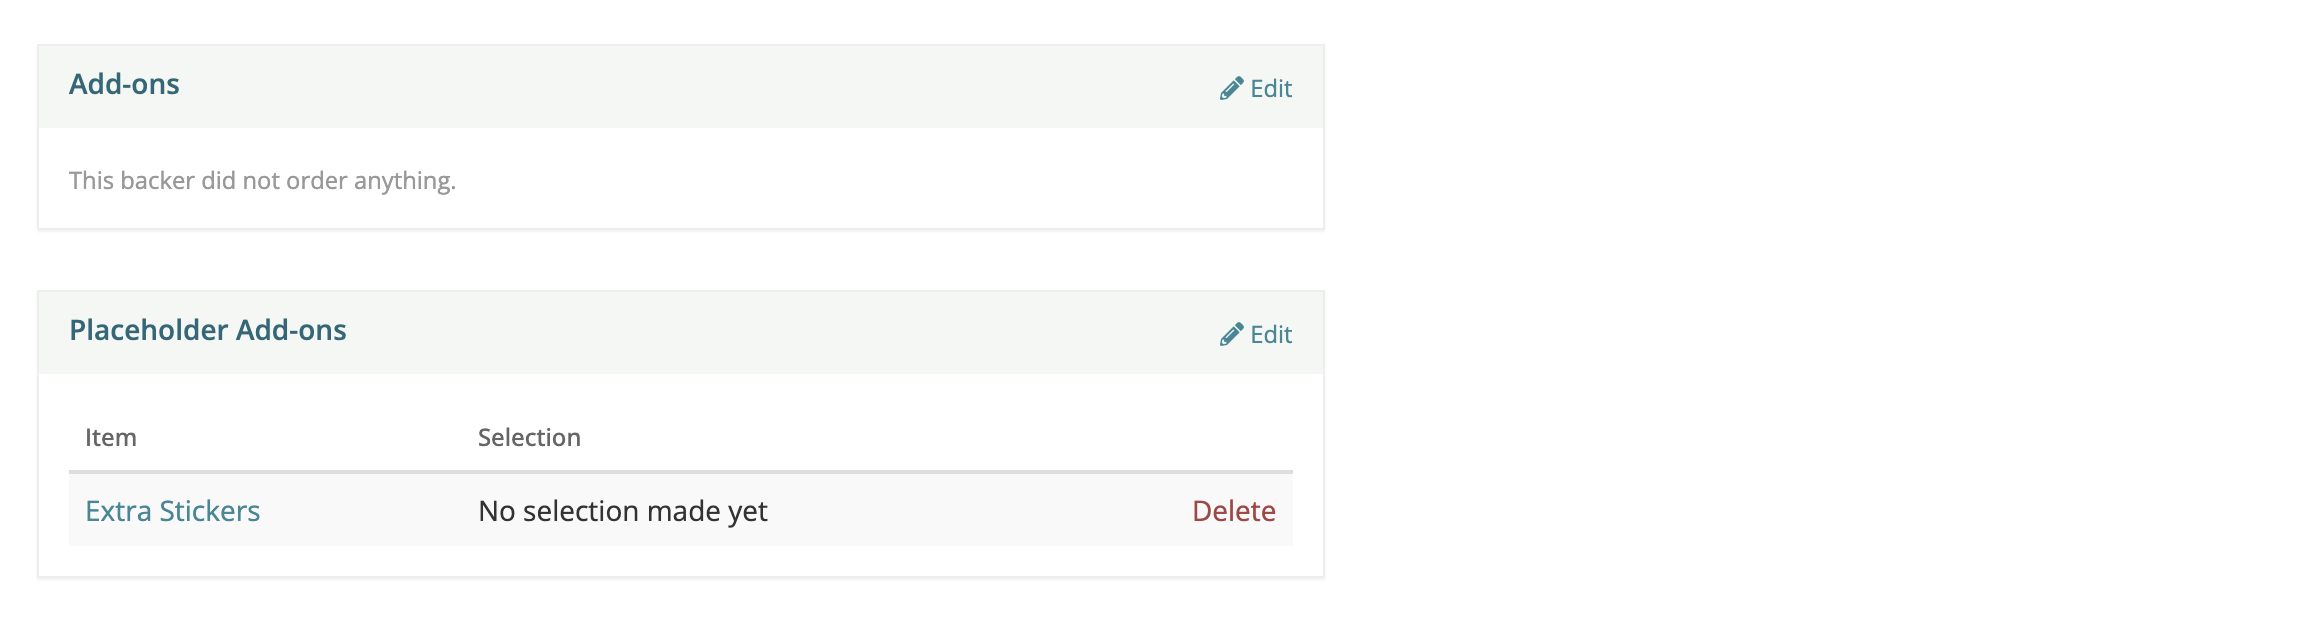
Backers who has selected add-ons during the campaign will see these items in their survey and be prompted to either "confirm" them as-is, or make a selection like size, color, or design (if applicable). Once the backer has completed their survey, these items will be added to their order. You will see them under the Add-ons section on the backer's order page.