Exports: How do I export information to upload into PirateShip
Although BackerKit does not offer a direct integration with PirateShip, we have identified the most effective method for importing your order information and associated weights. This approach is intended to support a smooth and successful fulfillment process.
Step 1: Adding Weights to SKUs
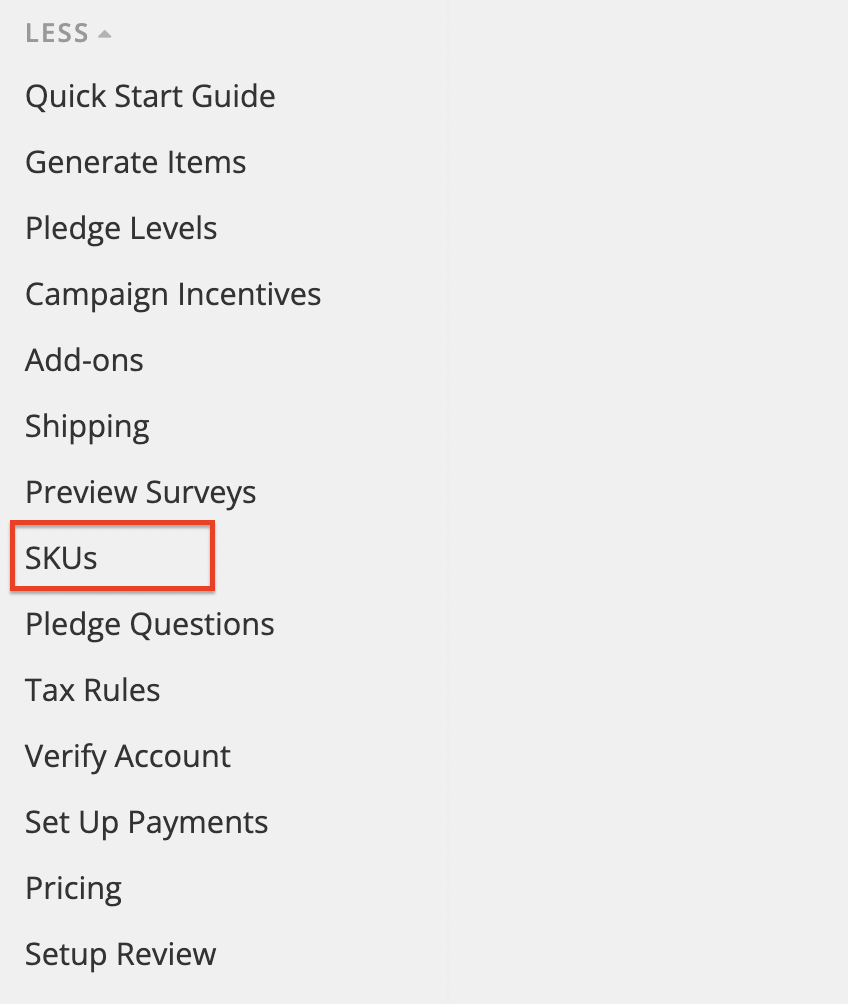
In order for PirateShip to import your data correctly and calculate fees appropriately, we want to make sure that we already have weights applied to our SKUs in BackerKit. If you are using Whole Order shipping in the pledge manager, these weights should already be applied. If not using Whole Order shipping, you will want to add your weights to your SKUs by going the SKUs page in your pledge manager:
NOTE: If you are using Whole Order shipping, do not make changes to the weights of your SKUs. Doing so may change the amount owed for shipping that your backers have already paid. This could result in them owing more in the pledge manager or them needing a refund.
From here, add the weights to each of your SKUs:
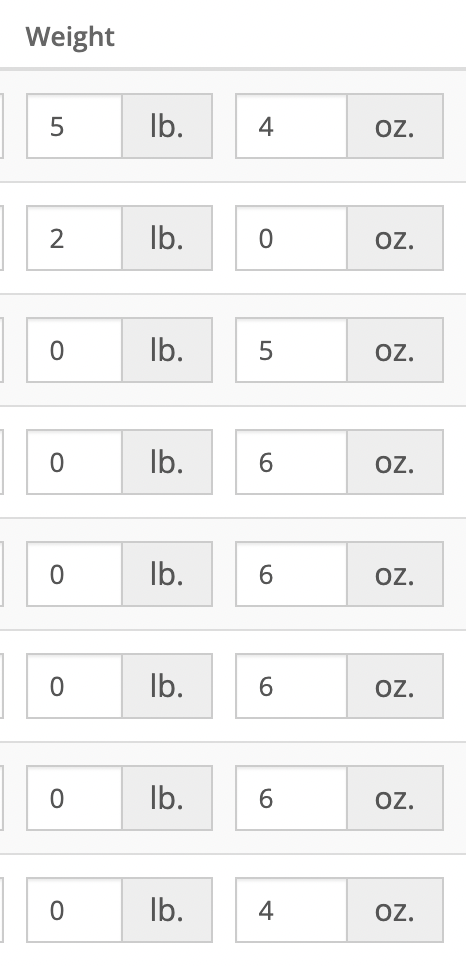
You can either add the weights entirely as ounces or pounds + any additional weight in ounces. We recommend just adding the weights entirely as ounces as this is the data we are going to import into PirateShip.
Step 2: Exporting From BackerKit
Once your backers are ready to be shipped, in your pledge manager, they should be in the Start Shipping section of your Take Action Timeline:

Once there, you can go to Fulfillment on the left side of your pledge manager:

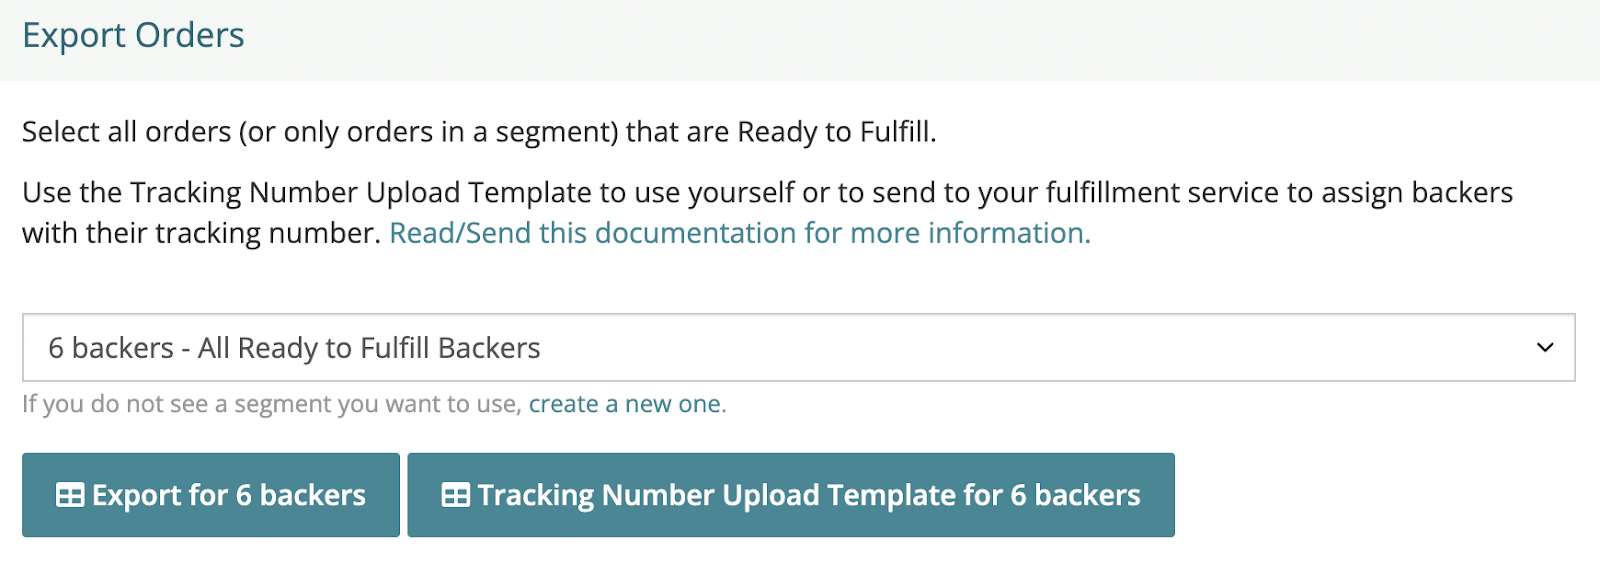
If you're not already on the Exports page, click the dropdown menu in the top right corner labeled “Switch Fulfillment Method” and select “Exports.” Once there, choose the “1. Export” tab at the top. From the dropdown on that page, select “All Ready to Fulfill Backers.” This segment includes all backers in the “Start Shipping” category of your Take Action timeline. When ready, click the green button that says “Export for XX backers.”
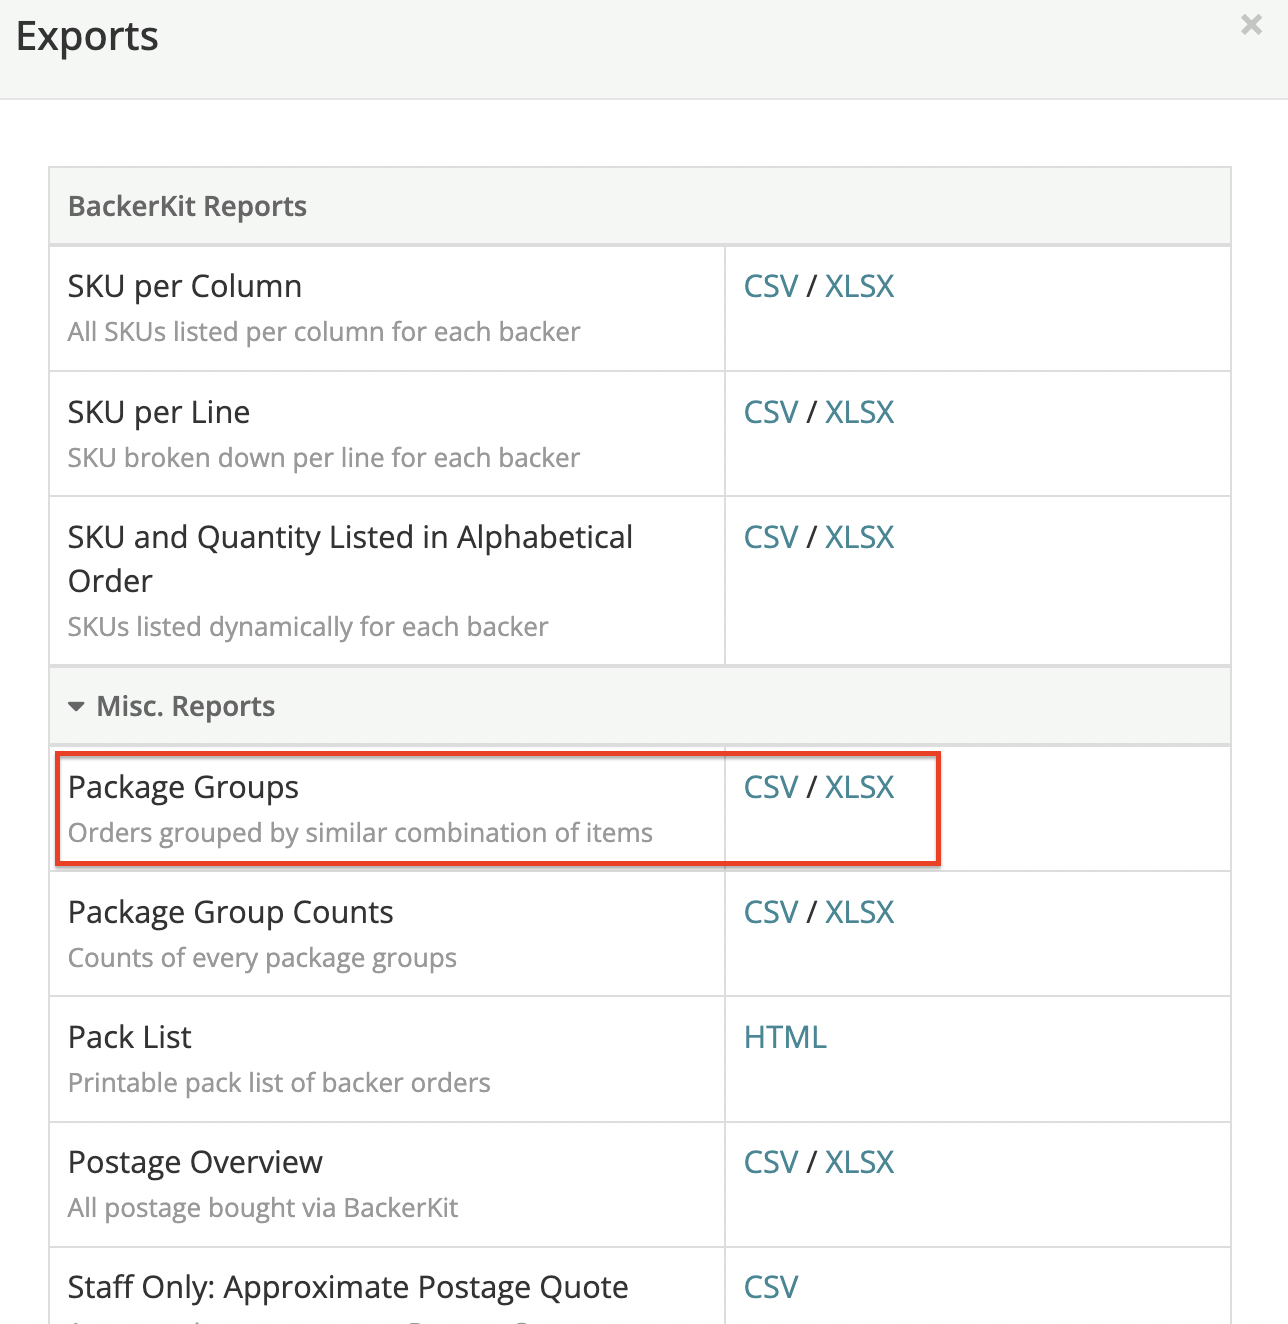
Once there a popup should appear with options of different exports. The export you will want to use for PirateShip is under “Misc. Groups” and select the “Package Groups” export as a CSV.
Now this file is ready to import directly into PirateShip.
Step 3: Importing to PirateShip
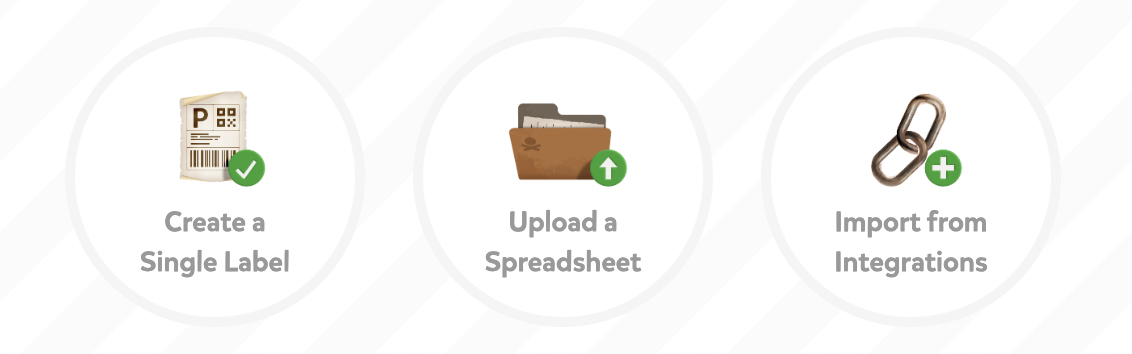
When ready, login to your PirateShip account and select “Upload a Spreadsheet”
This should prompt you to choose the spreadsheet you’d like to import. Please select the CSV you just downloaded labeled “package-groups__exported-on-xxxx-xx-xx”
Note: If you are shipping items in different package sizes, you will need to separate your backers into groups accordingly when creating your CSV files for PirateShip.
Each CSV should only contain backers who are receiving the same package size. For example, if one group of backers is receiving their rewards in mylar envelopes, those backers should be placed in a separate CSV file.
You can use the SKU data in your export to identify which group each backer belongs to and organize them based on packaging needs.
Once you’ve created and uploaded the first CSV file, you can repeat the following process for the next group with a different package size.
Once uploaded we need to map our columns from that spreadsheet to transfer the data appropriately to PirateShip.
Below is how your mapping should look on PirateShip:

For all other fields, leave them as “Do Not Import”
Once mapped, press Continue Mapping and select your packaging type, size and the weight of your packaging you will be using.
Then select if you need additional services like Insurance or custom forms (these will be required if you are shipping internationally).
When ready, press “Get Rates” and let PirateShip work it’s magic.
Once done you should be able to choose the shipping methods and rates you’d like to use and finally purchase your labels and begin fulfilling packages.